Razor Leather Case
My safety razor broke during usage last week, so I sadly had to order a new one.
I'm not really into shaving at all, but I want something that works and safety razors does both work and is cheap in the long run. For those interested, I bought a AL13 razor from Henson Shaving [1].
This time I used my Laser cutting machine to cut out the leather.
The steps
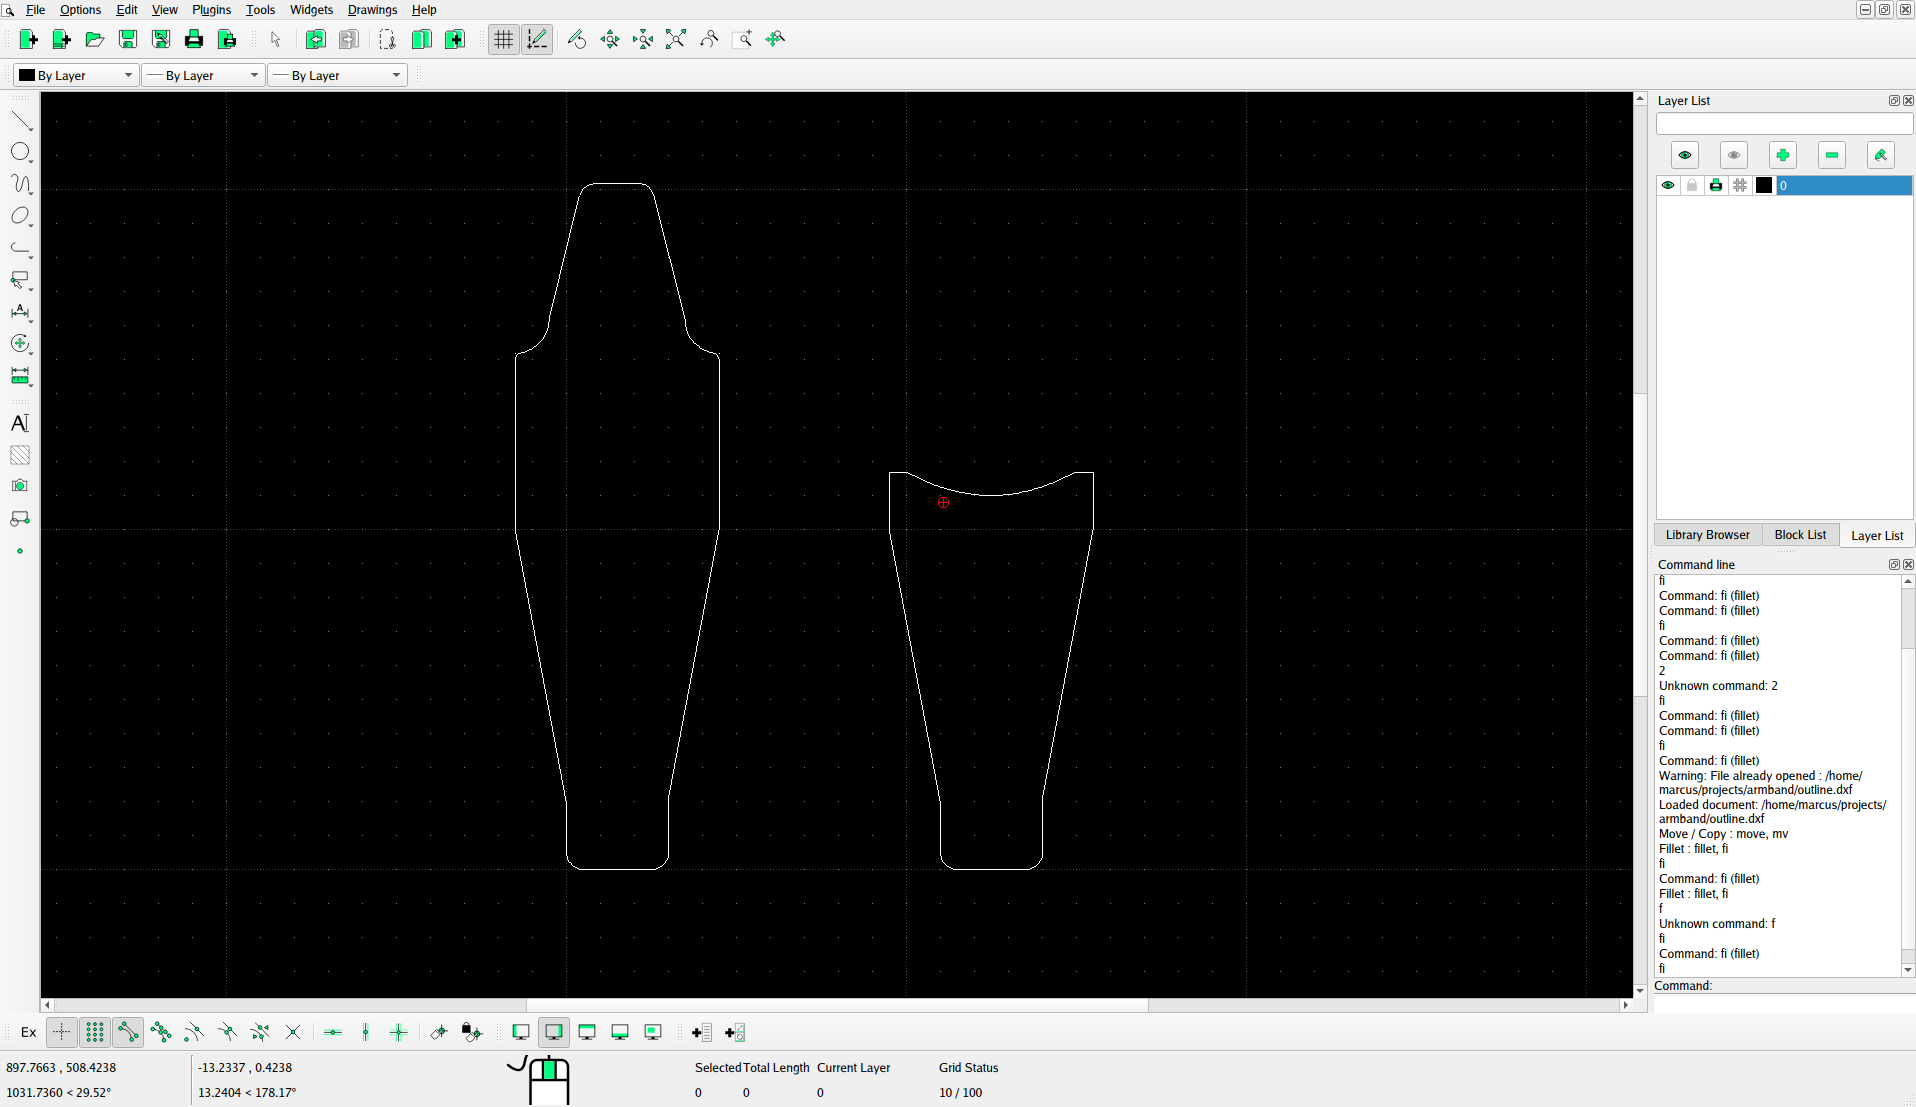
I use Librecad [2] to create my patterns. It works well, but I miss functionality to add stitch holes in a good way.
Maybe I will write a plugin to fix that some day..
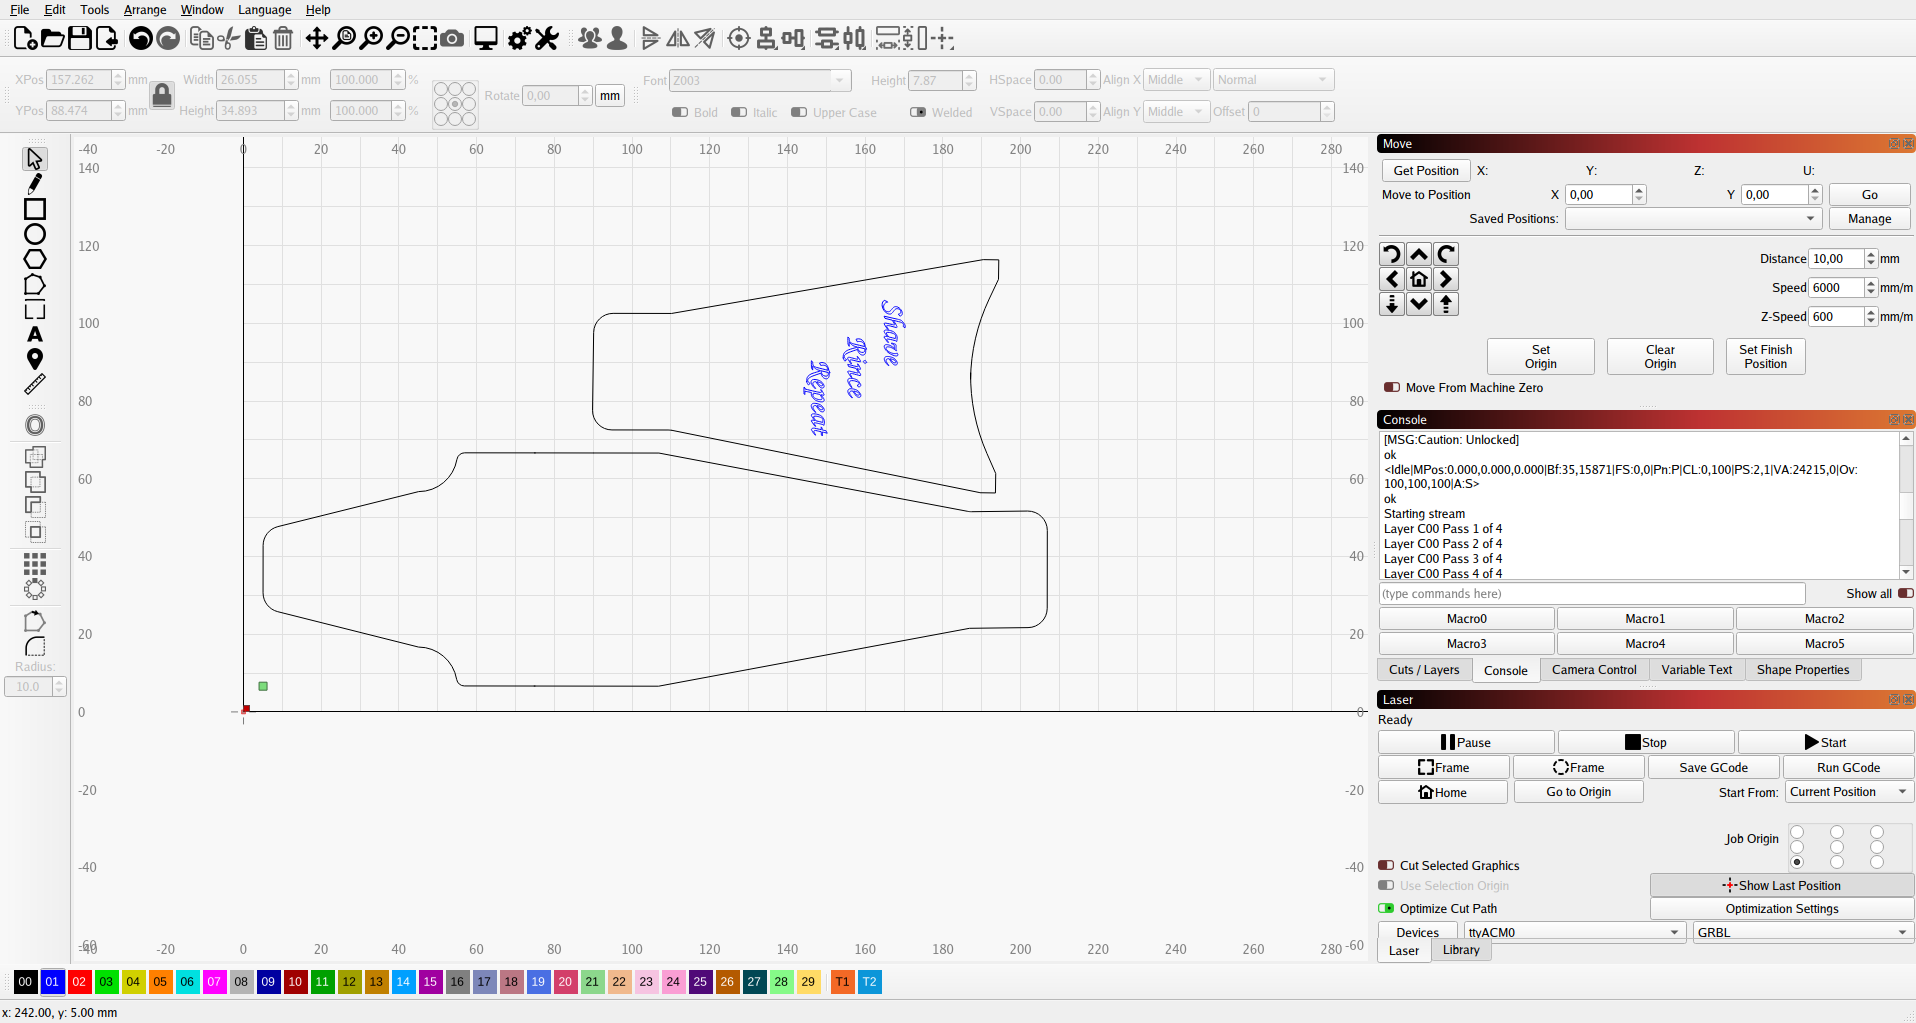
I use Lightburn [3] to control the laser. It is simple and does what I want. It works with Linux as well.
One tip is to heavily wet the leather to keep it flat on the laser board:
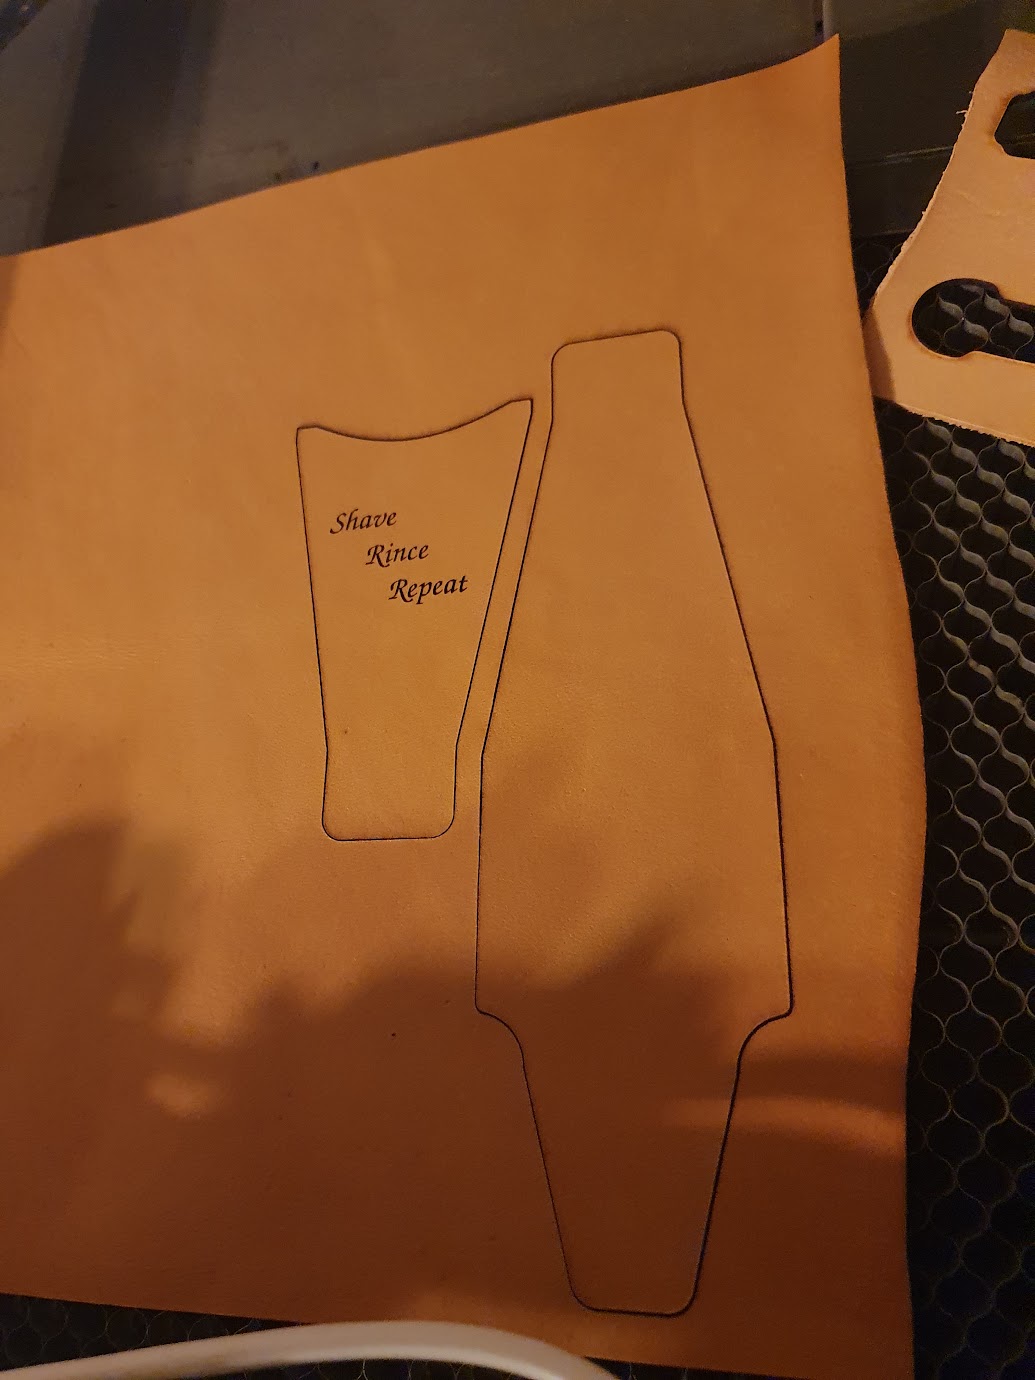
It takes one day for the leather to dry, so continue the next day.
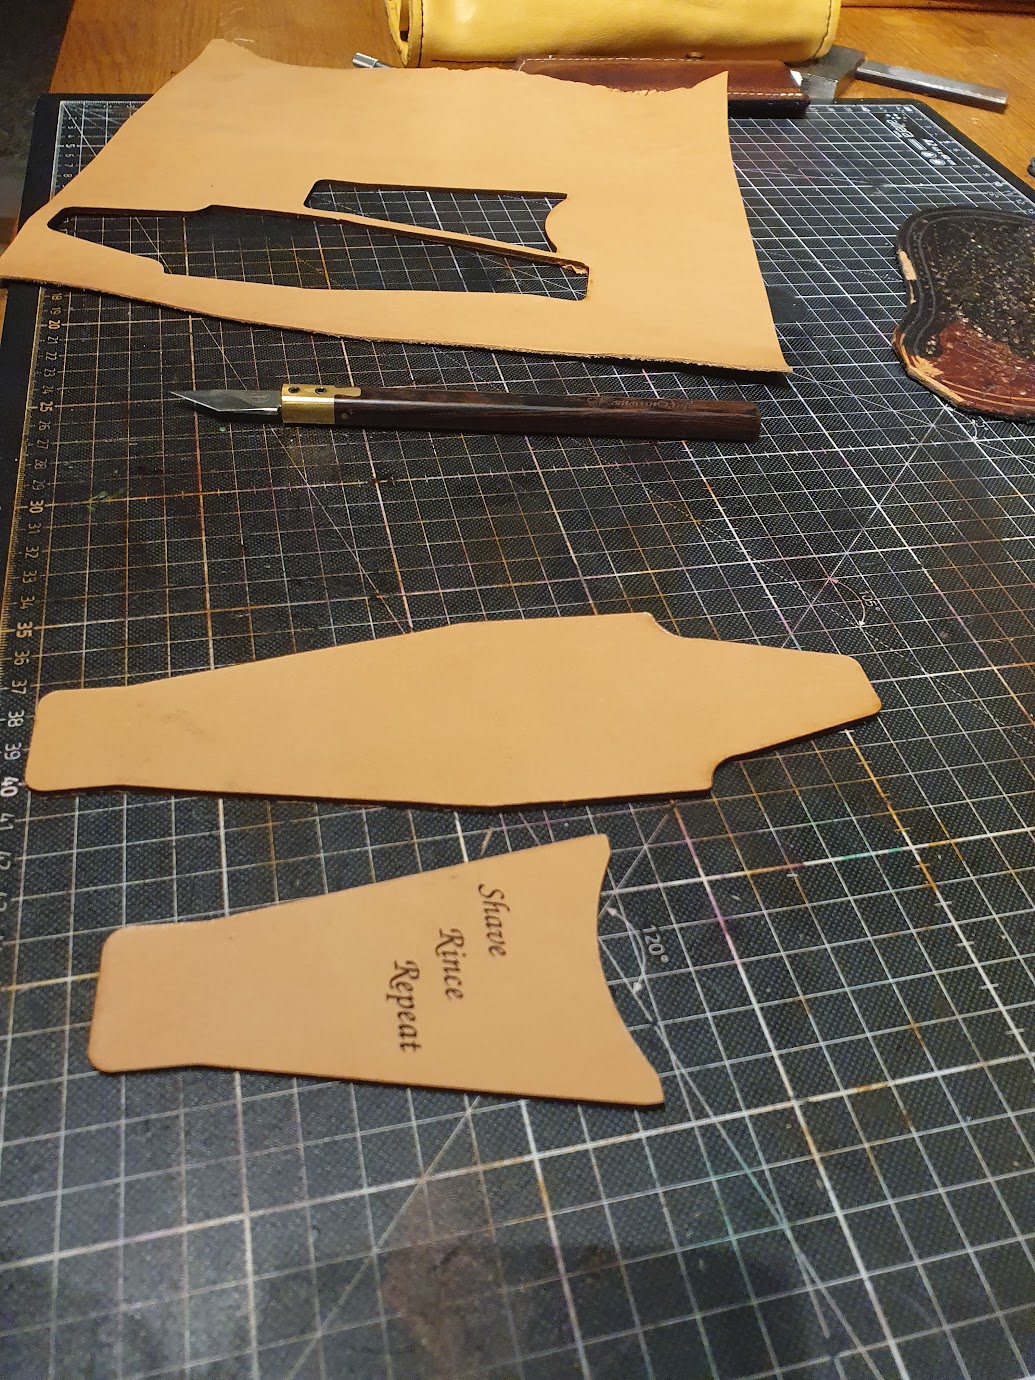
I should probably have run one more pass, the leather was not completely cut out. The scalpel came into use.
Groove to cut a channel in which stitching can be set.
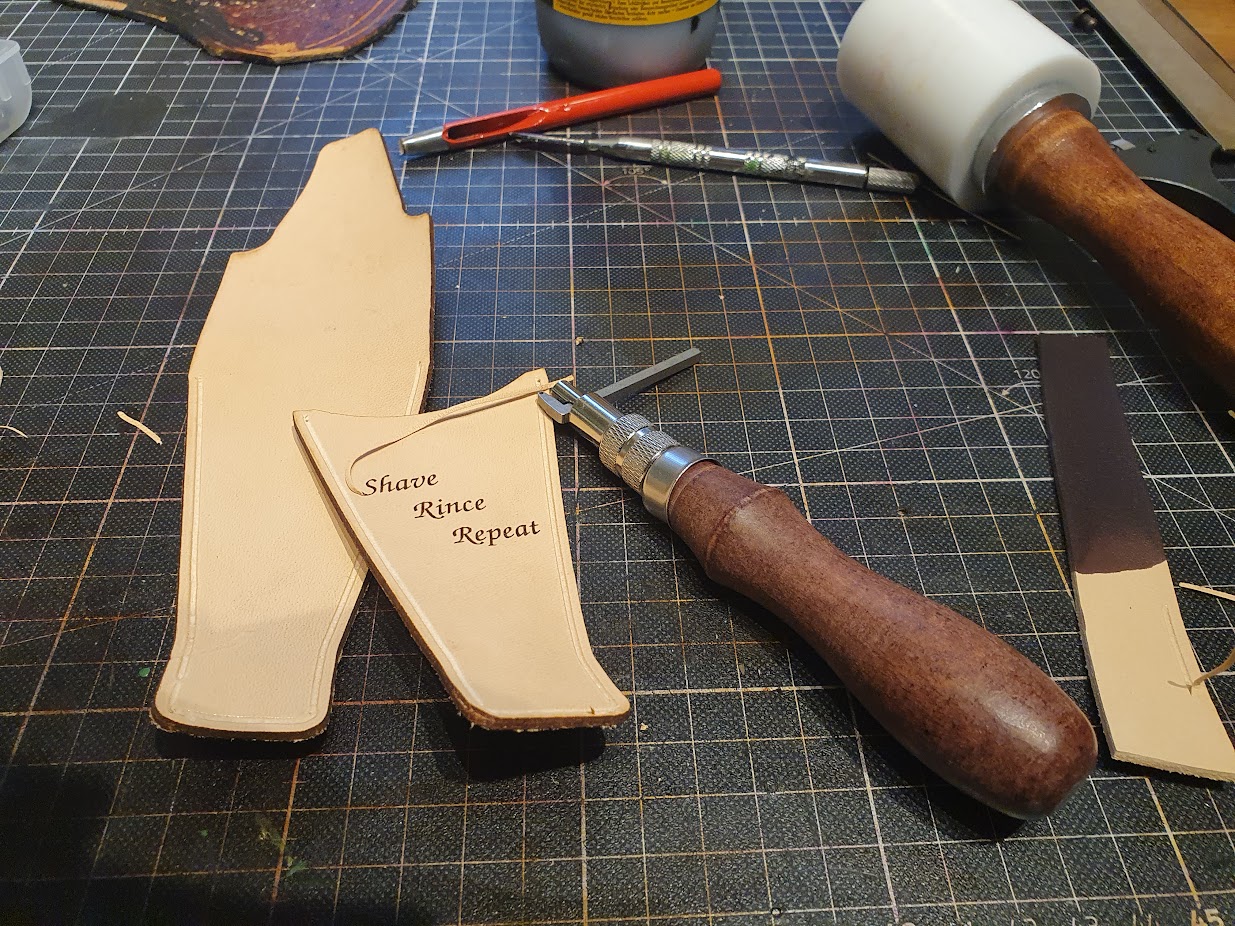
Beavel the edges
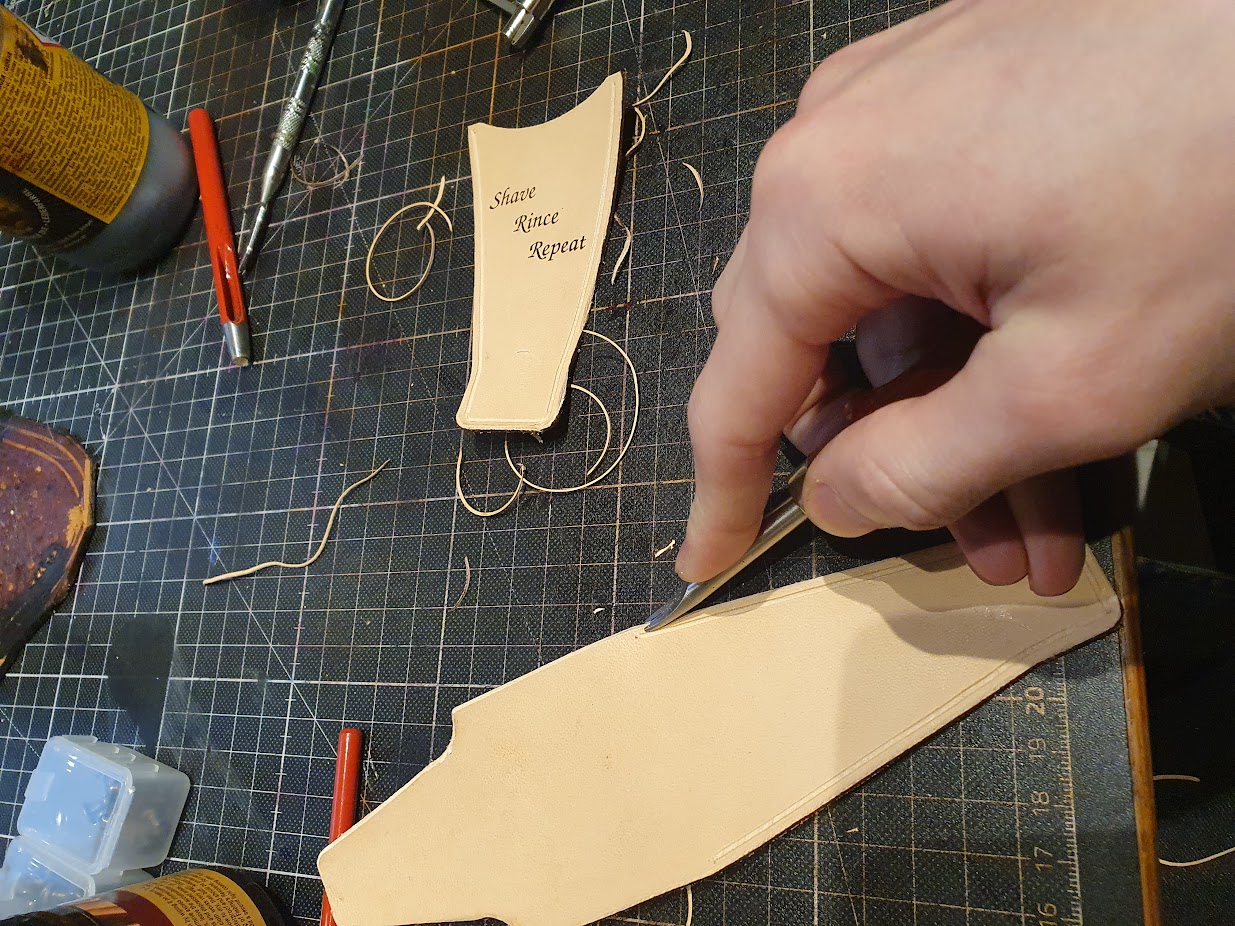
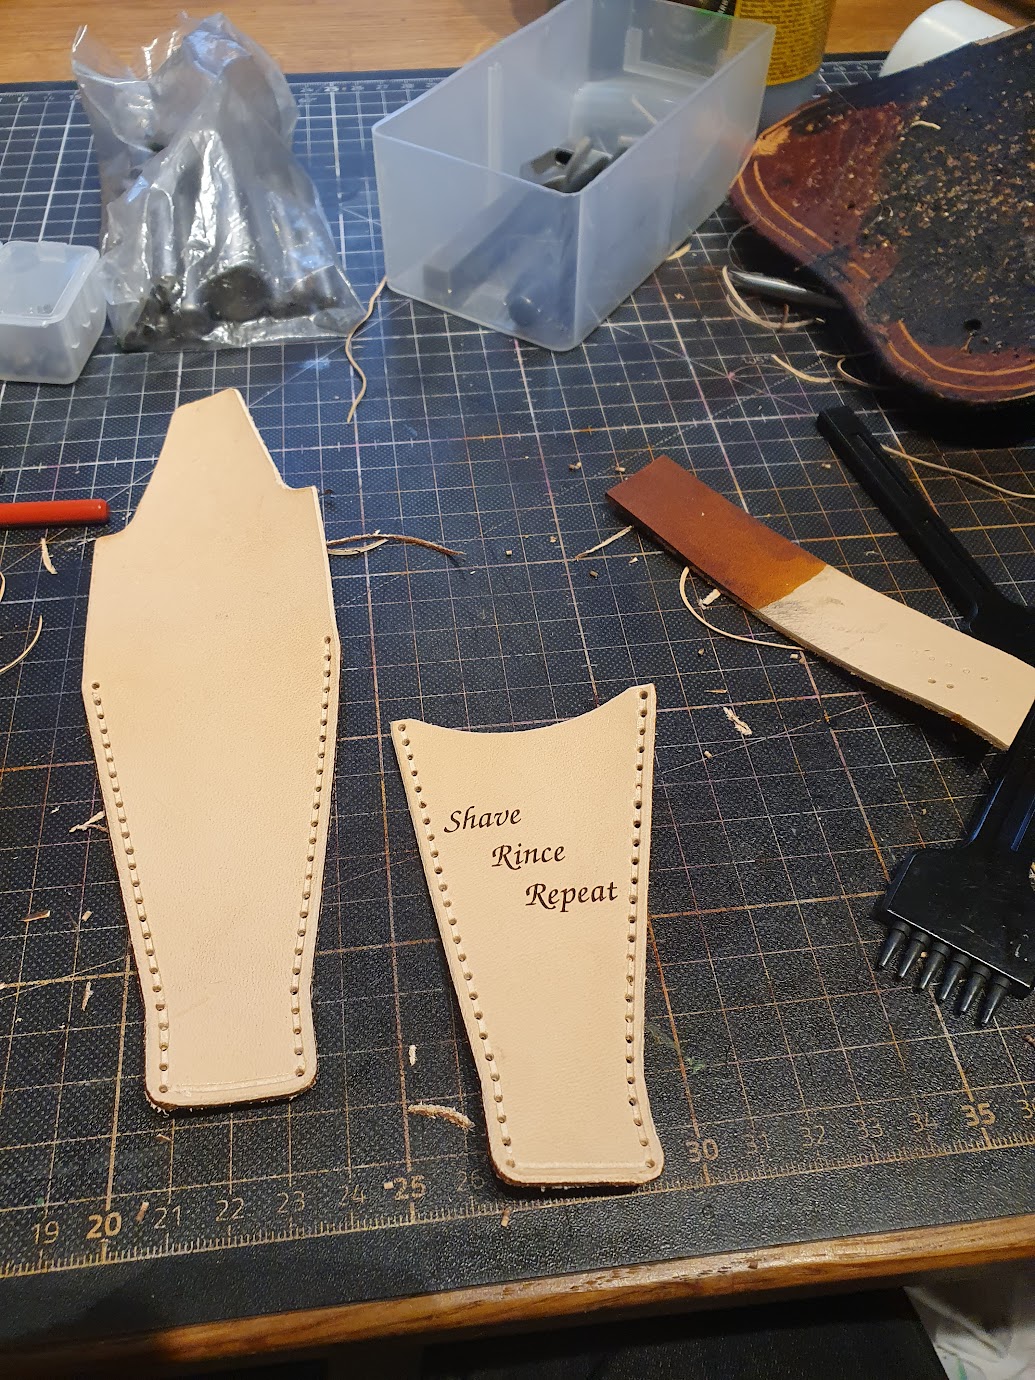
Stamp the holes:
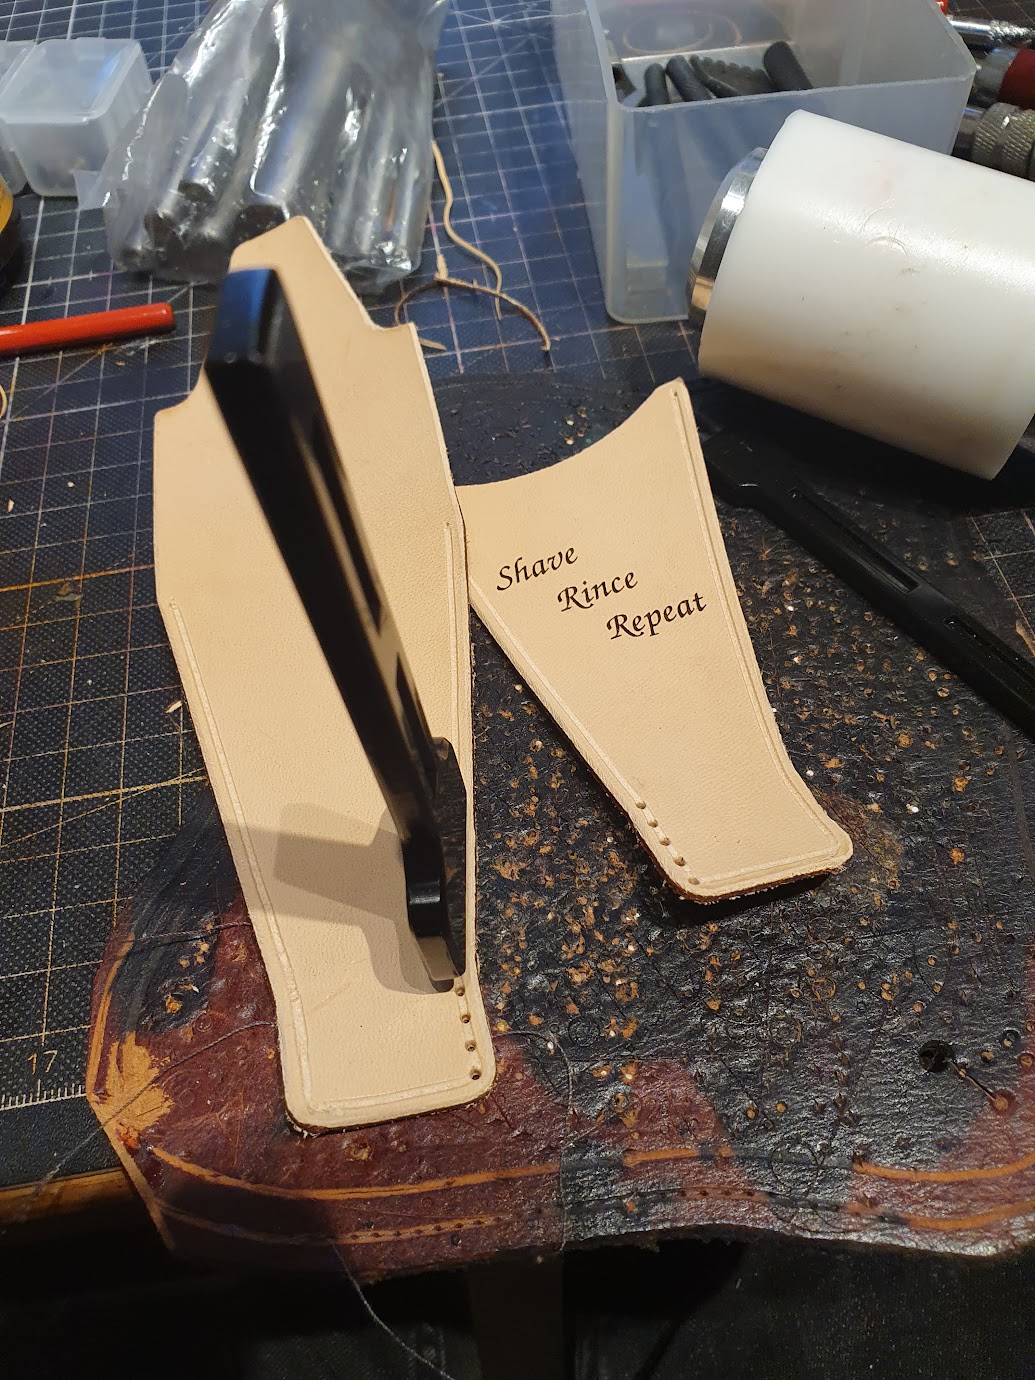
All holes stamped!:
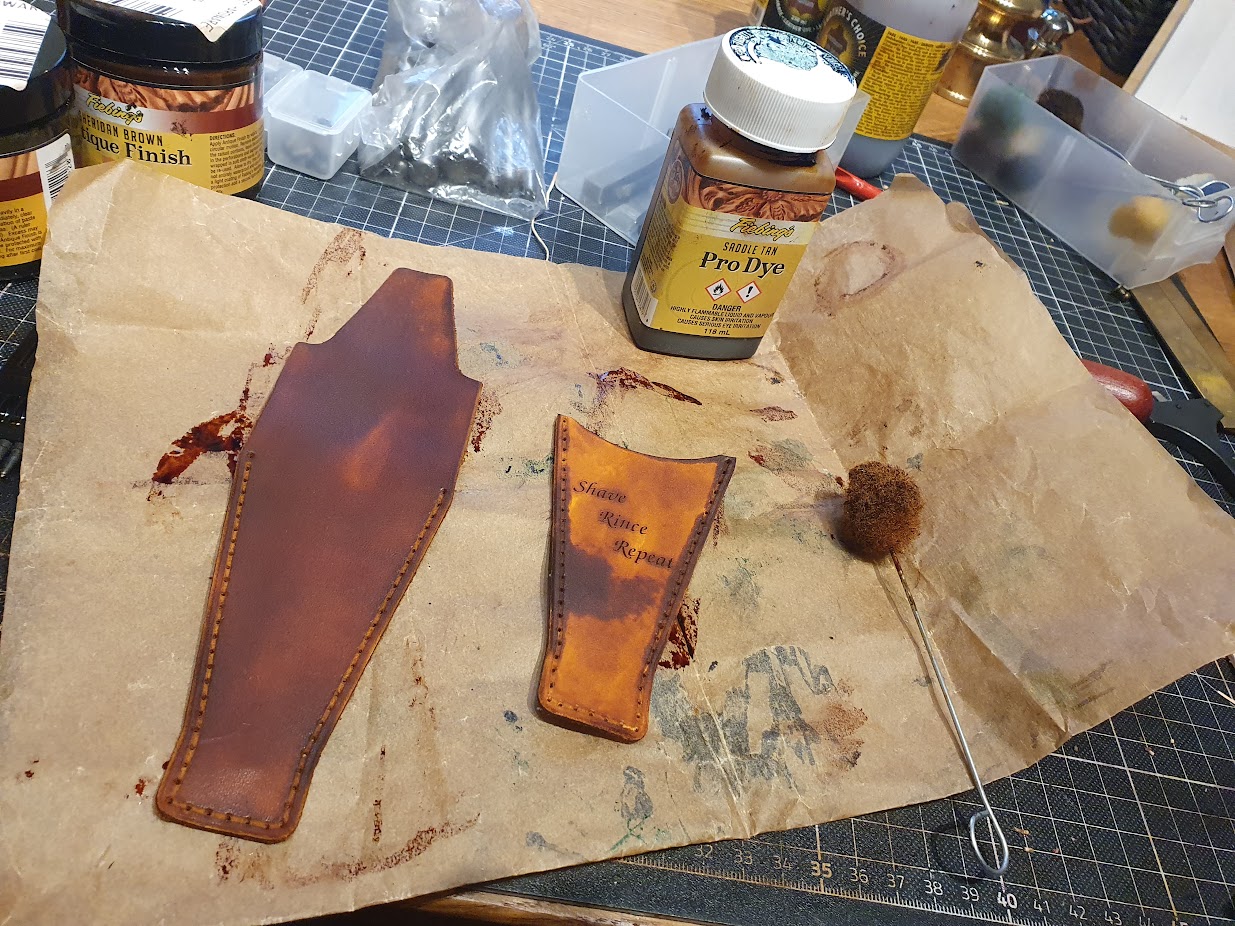
Dye the parts, i use the oil based Pro Dye with Saddle Tan.
Apply black edge color and burn the edges. It became quite smudgy this time..
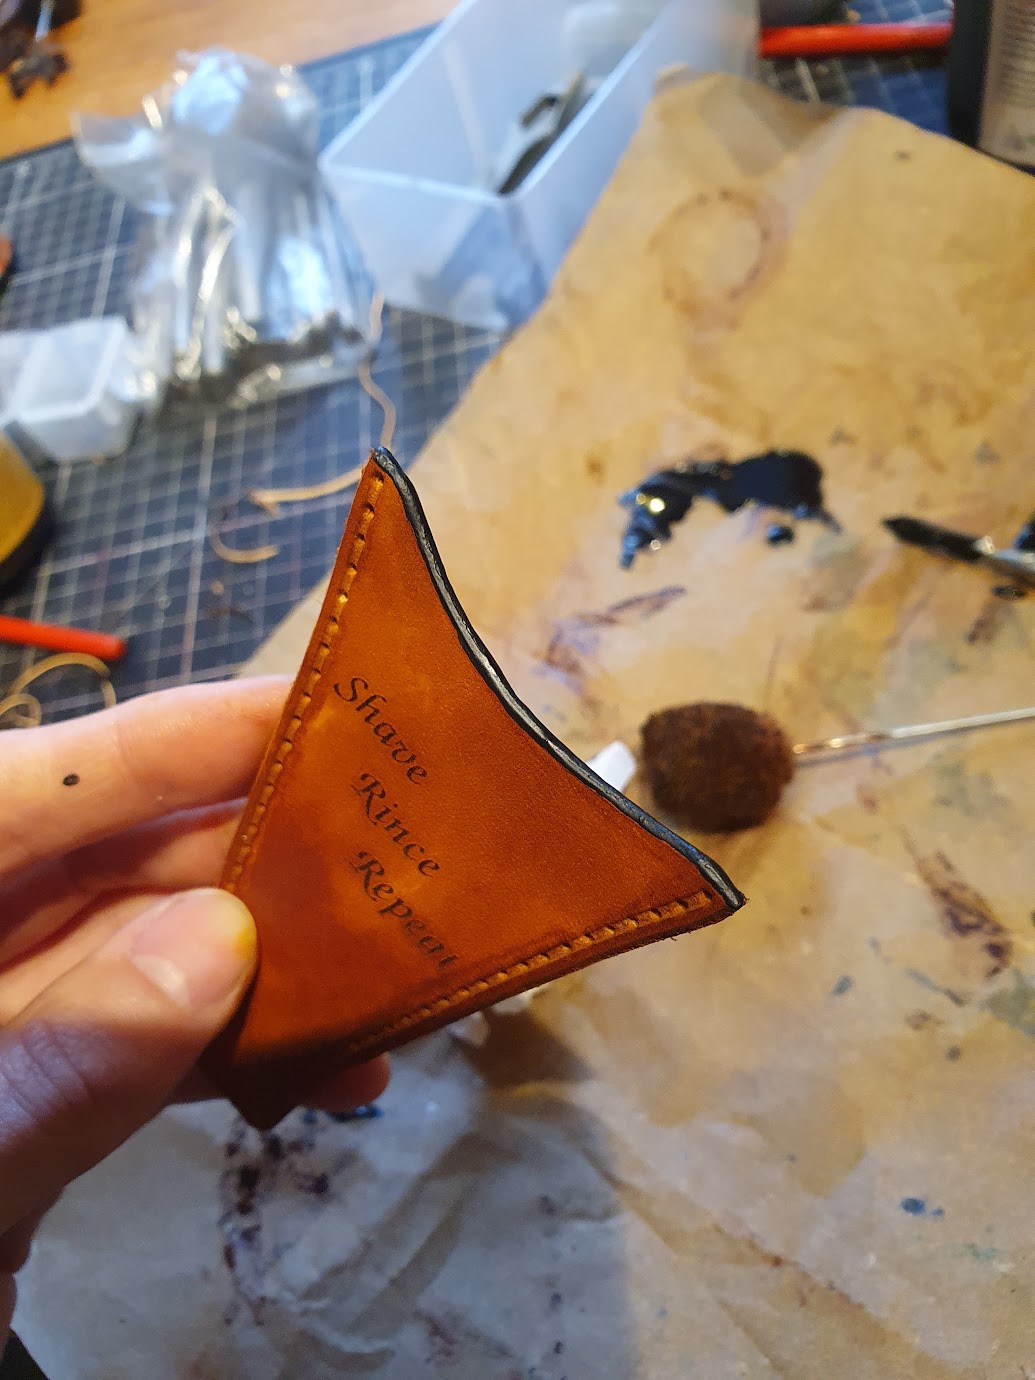
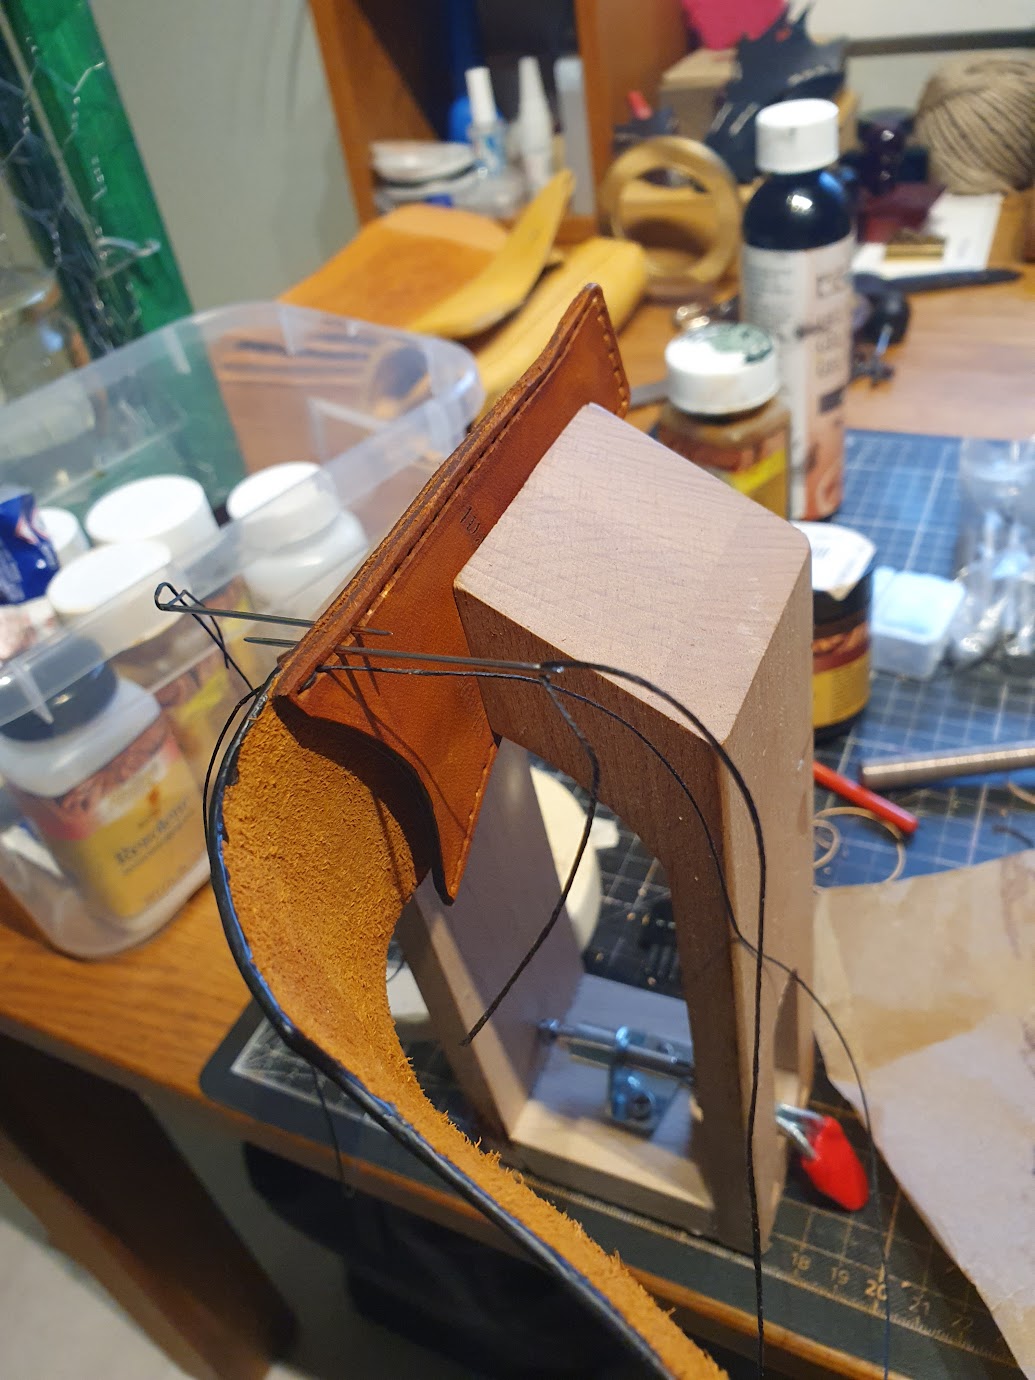
Stitch the parts together.
At last, apply a sealing to protect the dye.
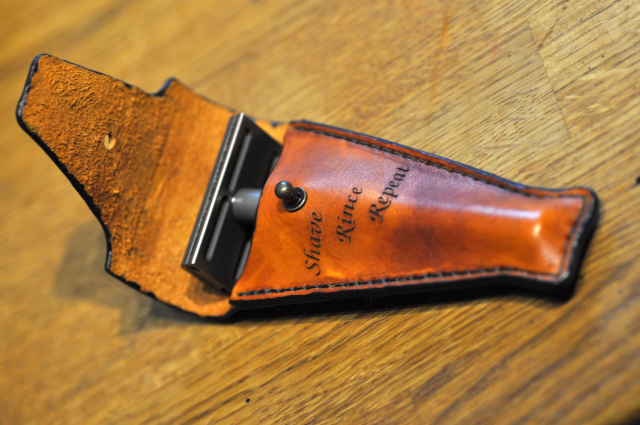
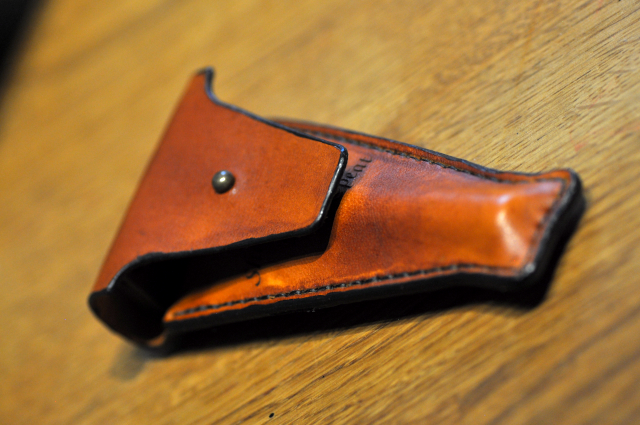
The result
The intention was to use a leather flap to close the case, but the text would end up behind so I had to use a button instead.