Bird counting
Bird counting
I've been counting birds for couple of years now, but for the last past six mounths I have also recorded which species I see at bird table.
I live in the middle of a bird sanctuary, so I think it could be good to know my neighbors. So the main reason for this was to learn to tell the difference between different species for birds. I must say that this was a success, I can name about 30 different bird species with a fairly high degree of certainty around my bird table.
For this I have created a spreadsheet to keep track of my observations. The spreadsheet only contains birds that I have actually seen at my bird table at some point. A have a lot of other birds that I see around the house (Golden eye, cranes, all kinds of birds of pray, snipes ....), but those does not count.
I feed the birds mostly with wild bird seeds and sunflower seeds. I also usually have some sebum balls hanging around the table, but it does not seems to be somthing they prefer.
Even if I forgot to fill in my observations from time to time, it's still fun to see roughly during which periods the birds are here.
You will find the complete sheet here [1].
Comments on observations
A few comments on some birds which I feel something special about.
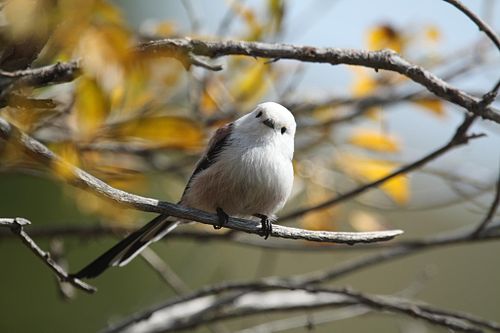
Long-tailed tit
The long-tailed tit is one of my favorite birds. They look like golf balls with tails and comes to the table in family groups The first group came to me in the middle of March this year (2024) but only stayed for a few days. Last year I know I saw them for a much longer period.
It is also one of few birds that seems to like the sebum balls.
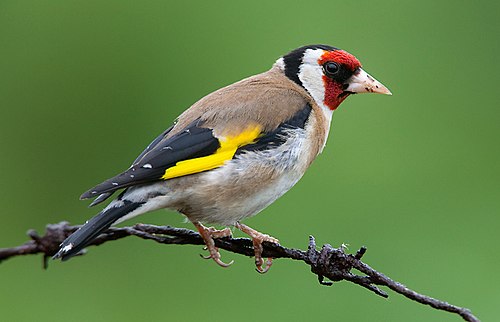
European Goldfinch
The European Goldfinch is a cool bird. I think I saw it for the very first time just a year ago, nevertheless, it is not that unusual. I have seen it in the area on many occasions since then, but only on one occasion at the bird table. But that is enought to count it in :-)
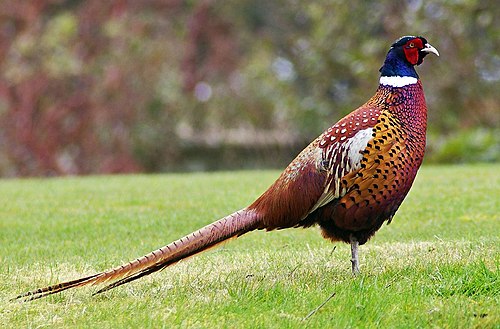
Pheasant
We have a peasant (Fasan in Swedish) that we call "Frasse". Frasse was more active last year and I saw him every day at the table. He was also an excellent alarm when the food ran out as he started to yell until I filled it up again.
This year, Frasse is not as tame as he used to. And he does not inform me when the food runs out... I guess I have a new Frasse... :-(
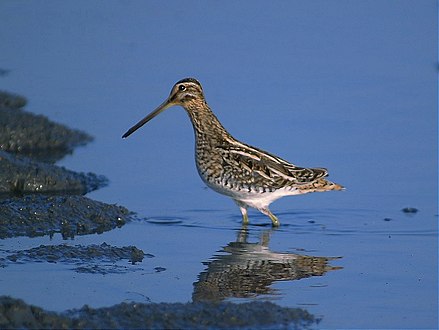
Common snipe
Okay, the common snipe does not actually counts as I have not seen it at the table, but I've seen a few around the house. However, it makes really wierd sounds [2] when it flies and it took me a long time before I even figured out what it was.
I used to hear them at dusk when I'm outside barbecuing in the summer.
European Robin
This is also one of my favorite birds. Not just because they are cute, but also for that they share name (Robin) with my youngest boy.